We start out organizing with the best of intentions. We know the benefits that will come on the other side, and we get to work. I love the optimism and the enthusiasm! But, sometimes, we get stuck. We take some wrong turns, go in circles, and fail to make lasting progress, never fully reaping the benefits that are right there waiting to be discovered. And, that would be too bad!
I want you to experience peace, free up time, and have a calm environment! Here are the top 4 organizing mistakes that I see – and what to do about them. Just in case you might be there yourself.
1. Not editing down first.
Editing down, or, decluttering, is almost always the first step to organizing. At the very least, treat it is an exercise that involves looking at your items with discerning questioning eyes that asks “Do I use this/love this?” Or, “Would I buy it again?” It’s very common to struggle with organization when the real issue is having too much stuff for the space. It’s like trying to fit a square peg into a round hole!

Make it easy on yourself and go through that decluttering process. Get rid of as much as you can, then repeat. You’ll find that there is more than 1 layer to peel back. The more you peel back, the easier you’ll find the subsequent organizing work.
2. Obtaining organizing products too soon.
We’ve all been there. We see some cute baskets at Target, throw a few in the cart thinking that they’ll work for….something. Where? What would you contain in them? And, most importantly, how much do you have in a particular category that needs containing? If you have an amount that would fill the trunk of a small car, the shoebox size container won’t cut it (regardless of how cute it is or what a steal it was). Or, if your shelves are 12″ deep and the containers are 15″ deep, that’s not going to work so well, either.
So, instead….first, edit down. Second, categorize items needing to be contained into groups. THEN, find product. Make sure you get enough. You can always return extras. The more strategic and intentional you can be with product, the happier you’ll be with the end result.
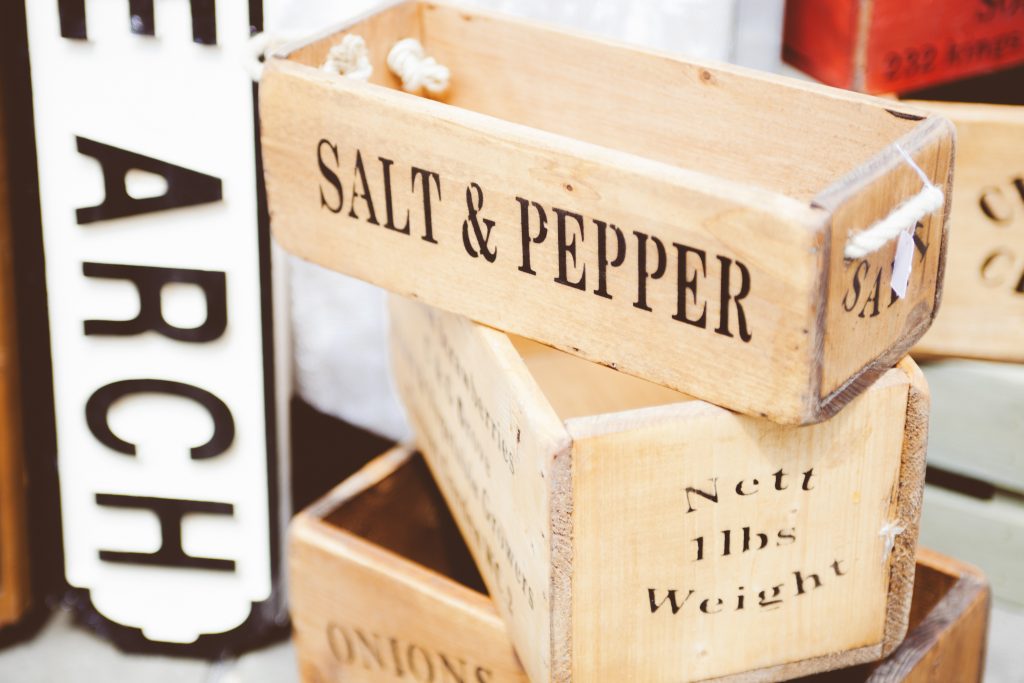
3. Not labeling.
I understand the temptation to say “I have this container for markers. It’s obvious that markers are in there. No need to add a label”. The challenge with this is in regards to maintenance long term. Without a label, the contents is up to interpretation. You might know it’s for markers. Your daughter, however, might think it’s for any craft supply, and start throwing in glue, paper, stickers, and pencils. And, someone else might treat it like a random misc. bin because they have no idea what it’s actually for.
There’s something powerful about seeing an actual label (even for something “obvious”). Not to mention, adding consistent labels gives a nice aesthetic that pulls everything together.
4. Not adopting new behaviors.

Maintaining organization over the long term requires a commitment to forming some new habits, to adopting some new behaviors. One might be to change your buying habits.
Let’s say you recently organized a pantry and allocated 2 bins for snacks. And, let’s imagine that your previous shopping habit was to stock up on sale snacks, regardless of how many you already had. Now that you have a defined space of 2 bins, your new habit could be to wait until those bins have space, then shop. This helps immensely with maintenance, and you’ll save money and waste less in the long run.
Examples of other new behaviors would be to establish a morning routine, an evening route, a 1-in-1-out rule, or putting things away before getting something new out.
There you have it! I’m confident that, with your next organizing project, you’ll avoid these organizing mistakes. You’ll first edit down, be patient with your product selection, label your containers, and adopt some new behaviors that will set you up for long-term success!