4 Tips for First-Time Homebuyers Considering Fixer-Uppers

*Guest post written by Ray Flynn, diyguys.net.

Buying a home for the first time can be stressful. It’s a huge investment. Luckily, homes that are in dire need of repairs go for much less. Fixer-uppers are ideal for renovation and easy decorating. If you’re considering buying a home that needs some TLC as your first property, here are some tips that will help with this decision. 

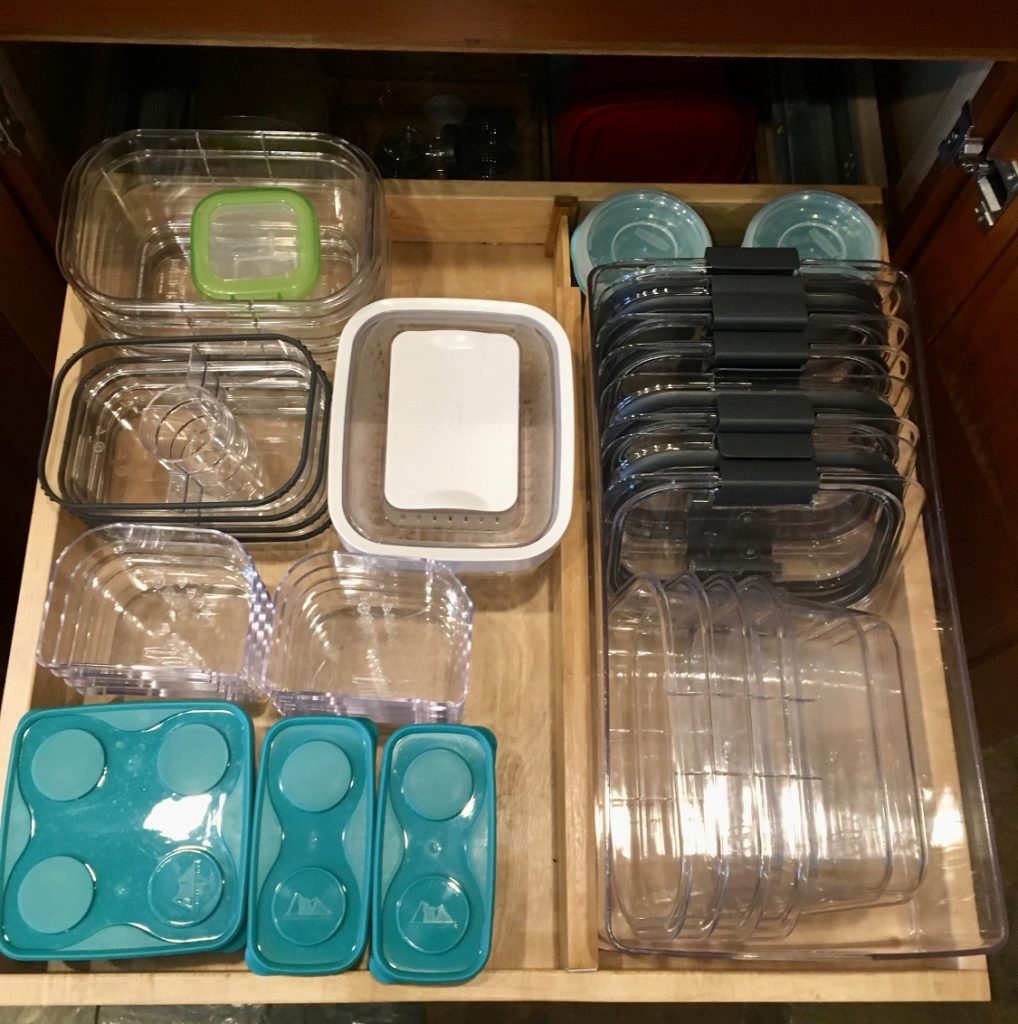
When you’re ready to seriously declutter and organize your home, connect with the pros at Making Space Organization. Call 616.915.5481 today!

Look into Zoning Laws

The first step you need to do is try and figure out what part of your town or city you want to live in and see if there are any fixer-upper homes in that area. You need to make sure you look up the zoning rights for that area, especially if you’re already thinking about a certain home. 

Zoning restrictions will give you more insight about the home and what you’re allowed to do to the property legally. For example, if you have your sights set on a fixer-upper in a historic district, construction projects may be limited. You can visit the municipality’s website or arrange a meeting with a staff member to learn more about zoning laws in your area. 

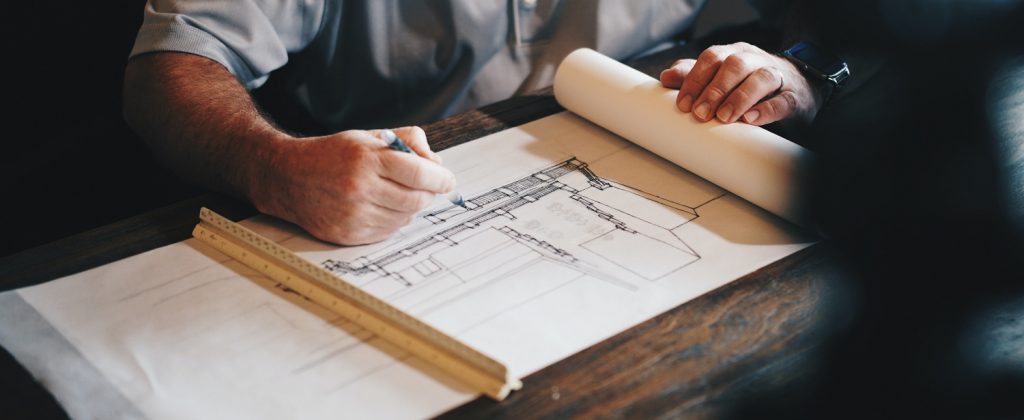
Work With a Contractor

Once you’ve decided on a fixer-upper home, hire an architect or contractor to walk through it. Family Handyman recommends having a list of things that you want to be inspected beforehand. It’s important to get a professional’s opinion before you start working on your house for a variety of reasons. They can let you know if the home you’re interested in is in your budget and if it’s worth buying. If your list of projects includes creating a wrap-around porch or a second bathroom, they can let you know if these are doable.

blueprints

Decide Which Projects to Pursue

Have you decided which renovation projects you’d like to prioritize? Start by making a list. Then figure out what needs to be fixed immediately and what can be delayed. Rockwell Tools recommends making repairs prioritizing repairs that will fix any safety hazards first. Make sure your budget aligns with the repair costs you’re estimating. If you don’t have a huge budget, you can renovate your home with DIY repairs:  replacing doors, refinishing floors, and repainting walls. Make sure you have the right tools (including jigsaws, drills and sanders), and these projects will be a lot easier to complete. 

More involved projects that include structural repairs, electrical wiring, or plumbing changes will cost more of your budget and require professionals. Another project that will likely require hiring a pro is window repair and replacement. The cost of these services will depend on which type of window is being repaired or replaced. To find the right window repair services, always ask for customer referrals and make sure they’re licensed and insured. 

renovated home

Figure Out if You Want to Sell

Once you’re finished with your renovations, you may think the hard part is over. But, now you have to decide if you want to live in your newly renovated home or sell it for a profit. What should you consider before you make this big decision? Look at the state of the housing market and how much you spent on renovating your home. 

If you’re currently in a buyer’s market, we recommend staying in your new home for a couple of years. If you’re in a seller’s market, get a second opinion from a residential appraiser and consider putting it up for sale. A residential appraiser will be able to walk through your home and let you know the worth. Once you get a final estimate, you can decide if you want to put it on the market.

Buying a fixer-upper as your first home can make the home purchasing process easier in some ways. A fixer-upper home usually costs less than other homes on the market. You will also gain valuable experience fixing it up. Just keep these tips in mind, and you’ll soon have success with your own fixer-upper, whether you decide to live in it or sell it for a profit. 

How to Dig Out When Your House is a Mess

Do you sometimes feel like the baby in the photo? You’re drowning in a messy house and you just want to throw your hands up and cry? I hear you! Granted, what looks to one person like an orderly space might seem chaotic to someone else (and vice versa), at the end of the day, it doesn’t really matter. You know your personal threshold and can sense when you’ve crossed over into that place where there’s so much mess you don’t know where to start. This is for you!

Here’s how to work through a messy home. We’ve all been there, and we can all climb out! The key is preventing (further) overwhelm by starting small, one task at a time. None of these should take any longer than 10 minutes, with the possible exception of the dishes (but that one is definitely worth it, so get after it!) These can be done in any order, but starting with the kitchen is my recommendation:

  1. Do the dishes. This is the single most impactful thing that contributes to feeling like you’re either relatively under control OR living in an out of control mess.
  2. Clear countertops. Consolidate countertop clutter into one area, as a first step. This process alone has a positive mental impact – even if the same amount of stuff is there. Then, in 10 minute increments of time, chip away at handling the piles. Don’t just shift and relocate clutter. You’re making decisions, item by item. Trash, recycle, donate, sell, or put away where it belongs.
  3. Take out the trash. Going room to room with a trash bag, emptying all the trash cans is a great job for a kiddo.
  4. Clean the floors.
  5. Spend 5 min. per room picking things up and clearing clutter.
  6. Start a load of laundry.
  7. Go through one stack of mail.
  8. Open all delivered packages.
  9. Clear the kitchen table.
  10. Ask for assistance. Enlist help from your family, a cleaner, or an organizer.
  11. Keep perspective. Sometimes a messy home is the aftermath of having fun and building memories. Clutter and mess aren’t permanent. And, you’re NEVER past the point of no return.

How to Prepare Your Home For Winter’s Chill

*Guest blog written by Paul Denikin of dadknowsdiy.com. Photos courtesy of unsplash.com.

As winter weather fast approaches, there are many things you can do to help protect your home this season. With these few maintenance fixes, you can safeguard your house and give it some much-needed TLC before the temperature drops for good, using these helpful tips. 

Replace Air Filters

Cooler weather and air quality go hand-in-hand. Depending on the type of home that you live in, whether it be permanent, vacation or bi-annual, your filters should be changed accordingly.  Air filters do not carry a definite replacement requirement. However, your living conditions will help gauge when you will need to make the switch, such as any allergies, filter type, and pets. One rule of thumb to follow, however, is to switch your filter out every 2 months just to be on the safe side and to keep the quality of your air continuously clear.

Changing air filters is a cinch and is typically either found in the ceiling of your home or located next to the HVAC unit in your garage or basement. All you’ll need to do is slide out the old one to replace it with a fresh one. If your vent cover is dirty, you’ll need to remove dust, leaves, and cobwebs that could impede air flow. A backpack vacuum cleaner is a great tool for outdoor clean-up projects like this one, as they are more powerful than a regular vacuum and feature enhanced filtration. 

Protect From Drafts

winter window

Drafts do more than just make you feel uncomfortable in your own home—they are an opportunity for heat to escape, raising your energy use, heating bills, and carbon footprint, all in one fell swoop. Take steps to insulate your windows from drafts. All you need are some elementary handyman skills and a handful of basic tools like a caulking gun and tape measure. 

If your windows are in need of some professional TLC due to a damaged sill or seal, you may need to contact a professional for repairs. Most homeowners spend between $170 and $375 to replace a window pane. 

Spruce up Pipes

Depending on where you live, you may have insulated or bare walls and pipes. Homes located in northern states tend to be pre-insulated, due to long winters, while the south’s sporadic cold weather leads to bare piping systems. Frozen pipes are hazardous because they can block water from flowing. Since ice expands, this can lead to bursting. Invest in some insulation which can keep the entirety of your home warm, as well as your pipes. 

When pipes burst, this can also cause potential leakage among your walls, which can transform into mold if not remedied properly. If your pipe is still salvageable, you may tighten them or use epoxy or rubber to seal the cracks. However, you’ll need to replace any exposed areas or your entire pipes if they are too damaged to avoid costly repairs in the long run. Due to the flooding that typically occurs along with burst pipes, repairs often run $5,000 and up.

winter home

Check Smoke & Carbon Monoxide Detectors

Accidents are inevitable, but the leading causes of home fires are always preventable, according to Accurate Home Inspections. One of the best ways to protect yourself against a potential fire is to obtain a smoke alarm and carbon monoxide alarm. Smoke alarms are inexpensive ways to protect yourself from harm. Though you can usually smell smoke, you cannot always see it. When there is smoke or a fire in a home, smoke alarms are typically loud enough for you to hear them, even in your sleep. Most homes should have more than one smoke and carbon monoxide detector, especially in each sleeping area. 

Midamerican Energy Company explains carbon monoxide is generated by fuel-burning devices and appliances when fuel doesn’t burn completely. Like a smoke detector, a carbon monoxide detector has an alarm, however, there are three main sensors and once it goes off, it must be placed in a carbon monoxide-free zone in order to reset. 

When it comes to the quality of your home, the little things go a long way. Get your house cold-weather ready by tightening the loose ends on maintenance and creating a harmonious environment for the seasons to come. Visit Making Space Organization for more tips and information on how to keep your home organized, and remember you can schedule a complimentary consultation to get clutter under control!

Kitchen Organization

*Disclosure: Links included in this post are amazon affiliate links. This means that, at no additional cost to you, I will earn a small commission if you click through and make a purchase.

If there’s one room in the house worth organizing, it’s definitely the kitchen. It’ll make you feel like you’re on top of the world. It’s the hangout place, the space you’re in morning, noon, and night. It can feel frazzled and chaotic or calm and chill. Here are some tips to get your kitchen organized.

1. Clean the kitchen before bed.

Do the dishes, putz around and pick up. Get it into some semblance of order before heading to bed for the night. Yep, you’re tired from your day, but your morning will thank you.

2. Pare down dishes.

Somehow, we accumulate dishes – mismatched plates and miscellaneous bowls. We may use them because they’re just, well, there. But, we could easily get by on fewer. Determine how many sets of dishes you really need, and go through your current inventory inspecting for pieces that have seen better days – that have been melted in the dishwasher, or are cracked. You get the drift. Anything that is excess, damaged, or no longer fits your lifestyle can go.

3. Corral water bottles.

Talk about accumulation! Water bottles build up from your kids’ sports, the freebies you get at events, or through work. The allure of “free” isn’t always in your favor – like if you don’t have room for the item. Step 1: Pare down to your favorites, or one for each family member. Step 2: Ensure they each have a home. I love the above water bottle holder to keep them neat and tidy.

4. Try drawer dividers.

$20 well spent. They’re great for dresser drawers, bathrooms, and most certainly kitchens. They help to organize messy utensil drawers, food storage container drawers, and anything in between. Bamboo dividers like these are particularly pretty in a kitchen space:

5. Tackle counter clutter.

Pay attention to your pain points here. Is it paper accumulation? Misc. items on the counter? I recommend tucking appliances away. Even a toaster that may be used once/day can have a home in a cupboard as it takes but a minute to get out. If you have items that you like to keep on the counter (a place for keys or change or maybe a diffuser and oils) consider a pretty tray, so at least the items are contained instead of loose on the counter. Here are some decor options:

6. Embrace the junk drawer.

Say what? Did I write that? Sure! We all have miscellaneous things that can be grouped together in a drawer. But, grouped is a key word. See what the similar items are – rubber bands, notepads, pens, keys, etc. Clear acrylic drawer organizers are great for separating out piles so the drawer doesn’t become a jumbled mess.

7. Sort through food storage containers.

This is typically one of the top kitchen pain points. I’m “team lids on” for storing, so you’ll never be searching for lids. But, if you have another storage method that works, go for it! Either way, take some time to pull all the pieces out and make sure everything has a mate – all the bottoms have lids that are supposed to. Discard the rest. Drawer dividers come in particularly handy here if you’re storing containers with lids separate. You can nest the bottoms in each other, install a drawer dividers, and put all the lids on the other side of the drawer.

organized kitchen drawer

8. Organize one drawer or cupboard per day.

How do you eat an elephant? One bite at a time! Kitchens are no different! Kitchens can feel overwhelming, as there are so many items in so many different cupboards, drawers, spaces. Yet, it’s a simple area to break into chunks because it’s a naturally compartmentalized space. Drawers already exist to help us delineate and contain. So, go with it, and tackle one at a time. Junk drawer one day, utensil drawer another. Before you know it, you’ll have worked your way through the entire space.

9. Develop a paper system.

Counters and horizontal surfaces such as tables are clutter magnets. This includes piles of paper. But, you are the one in control of your paper. You tell it where to go! Bills go here, things to file go here, and recycling goes directly into the recycle bin as it enters your home.

10. Pare down pots and pans.

This is another category where you may have more than you use or need. And, since pots take up so much space, it’s really worth your while to pare down. You’re the one who knows what your favorites are, so based on your cooking preferences and lifestyle, keep what you use and get rid of what you don’t! And, enjoy your organized kitchen!

10 Things that Clutter a Home

We know a decluttered space when we see it…it looks clean, picked up, and evokes feelings of calm. On the contrary, a cluttered environment is messy and can feel chaotic. There are some common culprits to the clutter standing between where you may be now and a clutter free space. Here are 10 things that contribute to a cluttered home:

1. Stuff on Counters

Tuck those appliances away. File or recycle papers. And, stow food in a cupboard or pantry.

2. Dishes

cluttered dishes

If you do one thing from this list, tackle those dirty dishes. It will give the illusion of an entire home that’s clean – even if it’s not. Make this part of your evening routine. You’ll be glad you did when you get to start the new day fresh – free from yesterday’s accumulation.

3. Visible Cords

There are lots of cord management products on the market (or use what you have – twist ties do the trick!) This is a simple and inexpensive fix and can really elevate the look of your space.

4. Mail

cluttered mail

The tough part with mail/paperwork is the rate at which mail comes into your home. If you’re not on top of the previous days mail, you’ll be adding to it the next day and the next day. To remedy this, come up with a simple system that includes recycling junk mail (do it right away!), and filing away remaining mail into a few categories – consider “to pay”, “to file”, or “action needed”.

5. Mismatched Containers

The goal here doesn’t need to be Pinterest worthy, but attempting a little coordination as far as container style or color can go a long way.

6. Shoes

Ensure there are shoe shelves, a drawer, or some other place to contain shoes wherever they tend to accumulate – inside the garage or front door, most likely.

7. Remote Controls

Find a basket or other container to house remote controls. Keep it on a side table or other location that’s close to where the remotes are used. Make it easy!

8. Laundry

putting away laundry

Laundry clutter can come in various forms…dirty laundry that hasn’t been put in a hamper or clean laundry that hasn’t been put away. Ask for your family’s help with this one – everyone can be responsible for putting clean laundry away and dirty clothes where they belong.

9. Knick Knacks

Do you have special collections? Great! Display them with joy. But, if, on the other hand, your knick knacks feel like just “stuff” – without meaning or even fondness, it may be time to pare down. Keep what you really like, what you would buy again, or what holds special meaning to you. Let your space provide parameters for you….allocate 1 shelf for your candles, for example.

10. Anything That Isn’t Put Away

There may not be a pattern/a rhyme or reason to these things. Maybe they = consist of tools, dishes, stray socks or toys. Here are two strategies that can help: 1. Ensure these items have a “home” and get into the habit (kids, too!) of putting things away as soon as you’re done with them. 2. Set a timer for 10 minutes and zip through each room grabbing stray things to put away. It’s amazing what can be done with a little focus and a short period of time. Living clutter free is within reach!