11 Declutter Questions to Ask

Decluttering is often the first step before organizing can take place. If you have excess, duplicates, broken things, or things you don’t really use or like then there’s no use organizing them! To aid your decluttering journey, here are 11 decluttering questions to ask yourself to help determine what stays and what goes.

1. Have I used it in the last year?

I like a 1 year duration on this question because you’ll make it through each season and multiple events (summer wedding, winter ski season, etc). If you haven’t used something in a full year, consider getting rid of it.

2. Is it sentimental?

decluttering sentimental items

This is a tough category, and know that you can keep sentimental things that hold great importance to you. Noone can tell you otherwise. However, it’s also helpful to remember that the joy is in the memory, not the actual thing itself. So, it’s also ok (and freeing) to let go of things in this category as well. Check out my blog about sentimental items here.

3. Would I purchase it again?

Sometimes we keep things just because. Because at one time we liked it. Because at one time we used it. Because we’re used to it and just don’t question it. But, when you ask yourself if you’d actually spend money on purchasing it again, you’ll hone in on the value (or lack thereof) that the item holds for you.

4. Is it a duplicate?

Only when we pull everything out of a space and observe what we have do we realize what we have. It’s common to discover duplicates of things like tools, scissors, craft supplies, and cords. Determine how many you need of a particular item. Yes, duplicates can be handy sometimes (ie a phone charger in a bedroom and in the kitchen for example). But, more often than not, multiples of things stored in different places throughout the home makes it harder instead of easier to find things.

duplicate items means declutter it

5. Does it have a home?

Where is the one place this item belongs? If it’s something that you want to keep, then find it a home. This makes it easier for you to find what you’re looking for and prevent re-purchasing things you didn’t realize you already own.

6. How do I feel when I see it?

Go with your gut on this one. If something puts a smile on your face, is useful and treasured, it’s probably in contention to be a keeper. If, on the other hand, you feel neutral, or even heavy or sad, you’ll likely feel that weight released if you part with it.
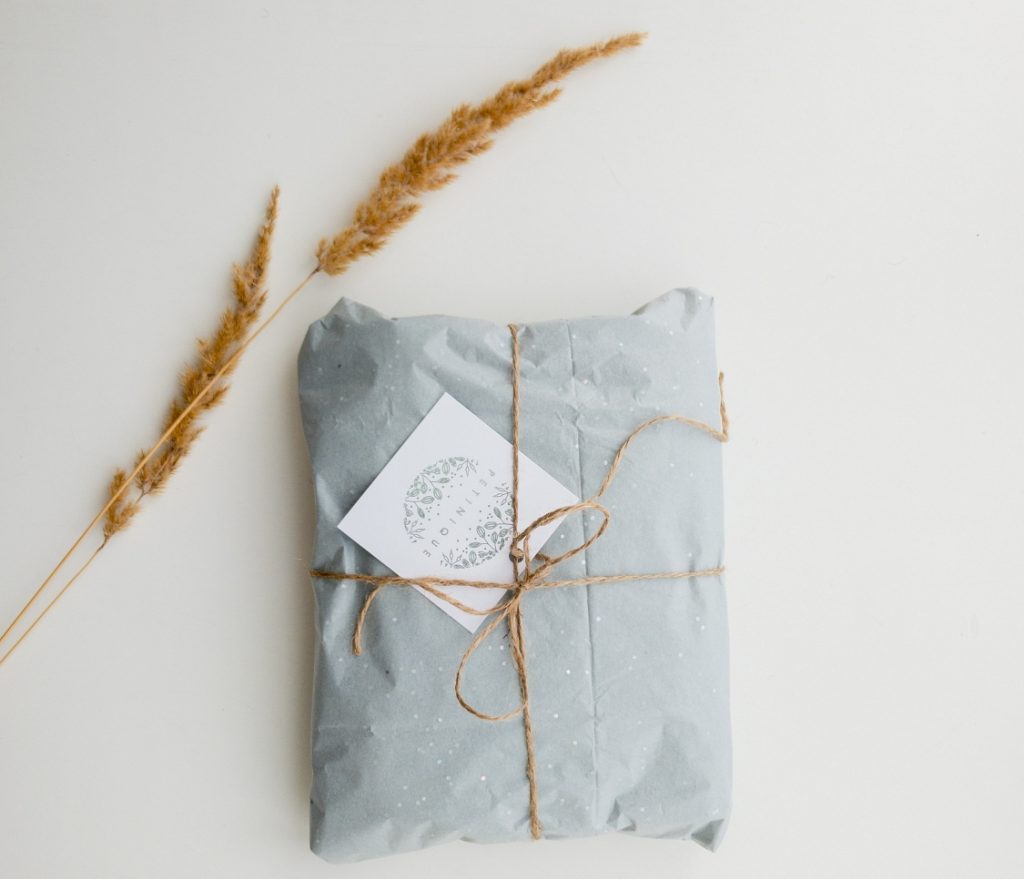
7. Was it a gift?

We tend to hold onto things more fiercely if they were gifts. We don’t want to hurt anyone’s feelings. But, the person who gifted it wanted to make you happy. They wouldn’t truly want you to hang onto something that no longer serves you. It is possible to be truly grateful for something, the thought behind it, the person who gifted it, and still let it go.

decluttering gifts

8. Do I have room for it?

This is key! I’m a huge proponent of letting your available space be your parameters for how much to keep. Having too much stuff for your space makes it hard to see what you have, hard to stay organized, and contributes to an overall sense of overwhelm and clutter.

There’s a way to reframe this to be positive, too. Instead of lamenting that you need to get rid of one of your 4 (fill in the blanks), you can look at the same scenario in a glass half full way by saying “This container looks like it can accommodate 3 of my 4 (fill in the blanks). That should be enough!”

9. Was it expensive?

This is a question similar to “Was it a gift?” There’s a strong pull to keep items that we or someone else paid good money for. And, in some cases, that makes sense – if it’s something we really do intend to use again (be realistic here!), but wouldn’t want to pay full price for again.

10. Is it easily replaceable?

Knowing that you can relatively easily obtain your item again, if need be, makes it easier to let go of.

11. Is it broken?

This seems almost too obvious to include, but we all are likely hanging onto something that doesn’t work. Commit to fixing it within the next week, or get rid of it.

Asking these 11 decluttering questions will help you pare down to what is useful, in good condition, and what you really love. The space you free up with a decluttering exercise will undoubtedly contribute to freed up mental space as well. Give it a try!

7 Steps to an Organized Pantry

*Disclosure: The amazon links included in this post are affiliate links. This means that, at no additional cost to you, I will earn a small commission if you click through and make a purchase.

An organized pantry is one of the top requests from clients. And, it’s no wonder, as it’s used daily by multiple members in your household. It has the ability to make you motivated and inspired to prepare great food, to start your day out with a feeling of calm OR the complete opposite. A cluttered pantry can make meal prep feel chaotic, can be a cause of overspending (because we can’t see what we have!) and can cause us stress. No one needs that! Let’s take our pantries back, friends! Check out these 7 steps to an organized pantry.

1. Determine your pantry’s purpose.

Seems obvious, right? Store food? Sure. But, perhaps your pantry serves as a multi-purpose space for keeping food AND cleaning supplies, overstock, pet food, appliance storage, etc. If you have enough space, it’s intentional, and it works for you, that’s great! But, if your pantry has become a dumping ground for everything but the kitchen sink, it’s time to get clear on what your pantry’s purpose is and what it is not. Go ahead and find a new home for anything that doesn’t fit within your pantry’s purpose. 

2. Empty out your pantry.

I promise it’ll be worth the time it takes to do this. You’ll find expired items, duplicates, and things that belong somewhere else (you remembered that “purpose” step above, right?) Get rid of anything that is expired, broken, or that you no longer need.

3. Decide on pantry zones.

These will likely correspond to what containers you will use and how you will allocate your space. Do you need a baking zone? A snack category? Other common ones include pasta or grains, drinks, eat first, treats, or dinners. Once you’ve identified these zones/categories, you’ll be ready for step 4. 

4. Containerize.

Containerizing serves a helpful purpose in defining the space we’re allocating toward a certain item or category. Without these boundaries, it’s easy to overstuff a shelf, making it hard to see what you have. It works well to decant your dry goods/baking goods into containers such as *these OXO containers (my absolute favorite). The link is for a large size great for flour or sugar. There are lots of other sizes as well.

Containers make items visible and help you to see when items are running low. Have fun with this step! What is your personal style? Do you prefer the homey warmth of baskets, the utility of a great acrylic bin? Are you looking to utilize what you already own? Fantastic! 

Container resources: The Container Store, Amazon, Target, Home Goods, and Bed Bath and Beyond are all great for containers.

5. Label.

Particularly if you have several different kinds and styles of containers in your pantry, the simple addition of utilizing consistent labels will bring a cohesive look to your space. Labels can be functional and fun! You can use a label maker (*here’s a good one), purchase inexpensive *chalkboard labels, or make your own! Labels are easy to change out down the road if you have a new category or if something isn’t working for you. Tip: It works well to keep your label category names generic. Unless you always have Fritos on hand, for example, it’s best to use the label of snacks. This affords you maximum flexibility and increases the likelihood that you’ll have a category just perfect for that new product you’re waiting to try.

spices with labels lined up in a cupboard, organized pantry

6. Utilize all the spaces.

An organized pantry is one where all the space you have is maximized. If you have a pantry with a door, consider how to use the back of the door for additional storage. Or you can add hooks to walls to hang up aprons or dish towels. I’m a fan of putting large bins on the pantry floor for overstock or to house those bulk Costco purchases.

Lazy Susans are helpful for oils and vinegars or any round items. *Here is a great one. Or *this divided one. Even if your pantry consists of just a small cupboard, consider how to maximize it by adding risers or command hooks throughout. 

7. Maintain.

Once you have your categories, containers, and labels, the space largely maintains itself. Really! If you find a category that’s overflowing (ours is snacks!), readjust your space and your containerizing to accommodate your real life. Or, you could purchase fewer snacks…nah! Ensure everyone in the household is prepped on where things get put away in your new and improved organized pantry and get on with the more exciting things in your life!